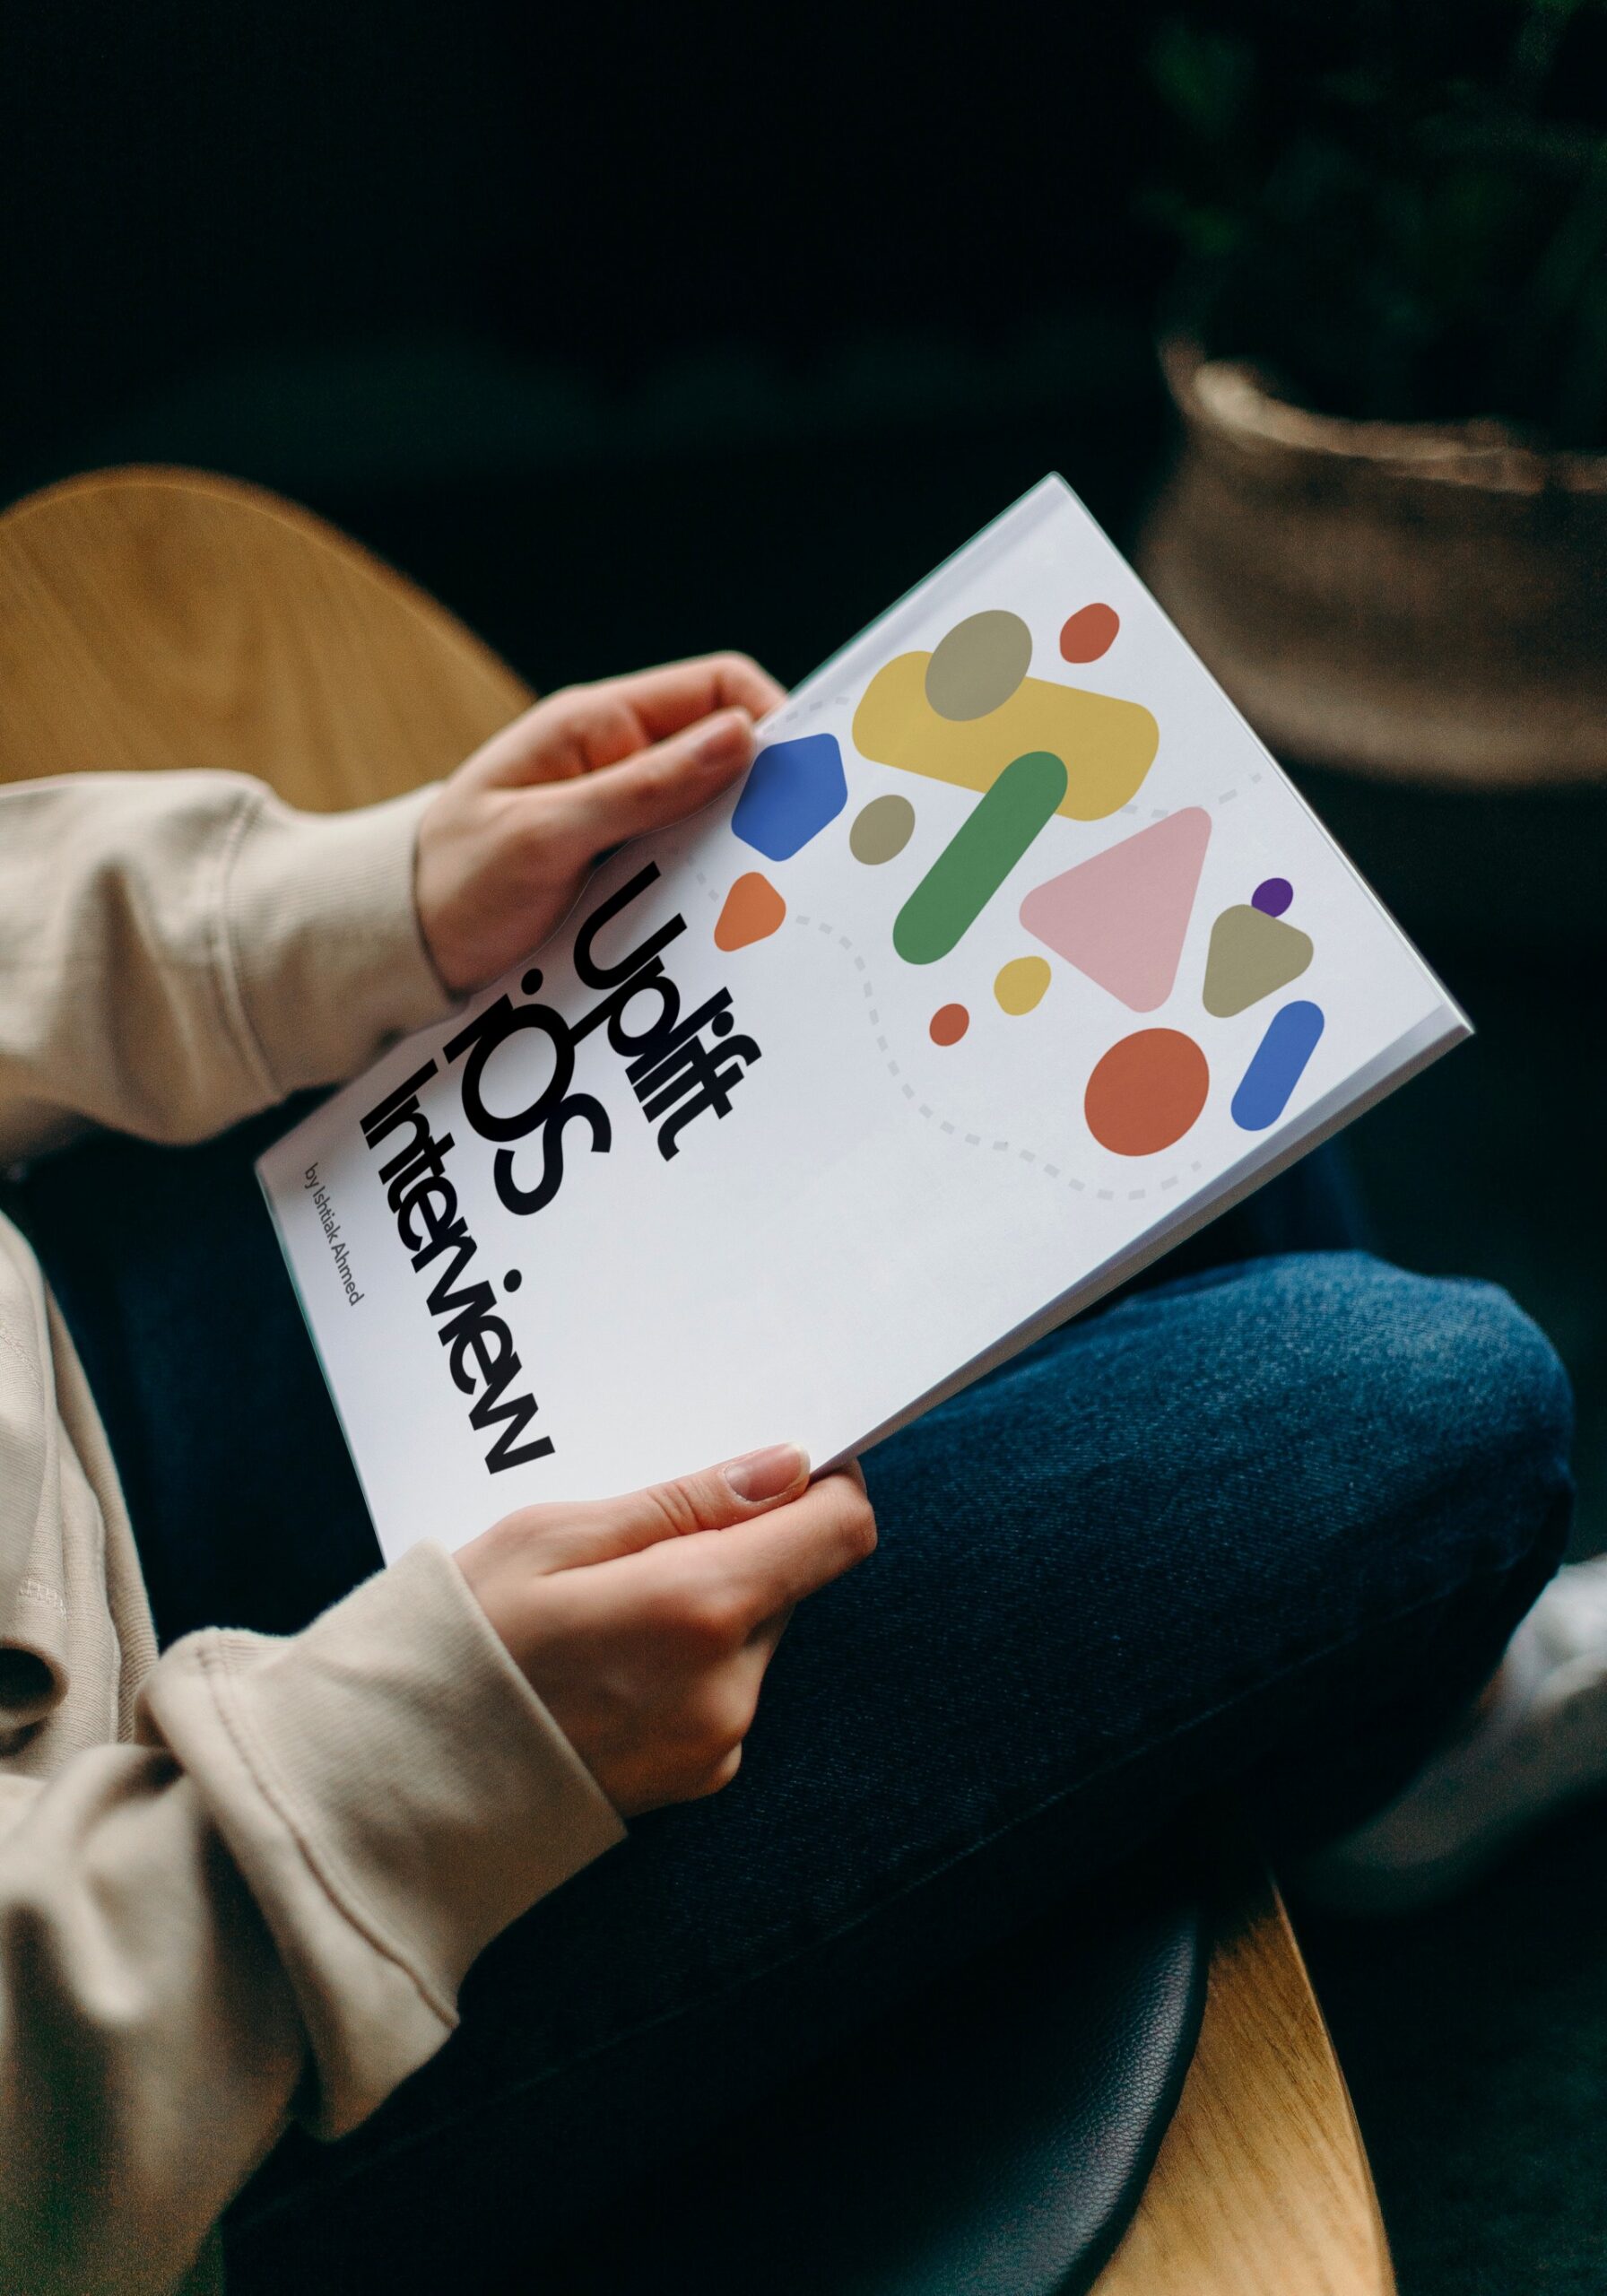
Uplift iOS Interview
The Guide is for YOU if
- You are preparing for an iOS interview and want to improve your skills and knowledge and looking to level up your interview game and land your dream job.
- You want to gain confidence and ease during iOS interviews by learning expert tips and curated strategies.
- You want access to a comprehensive list of iOS interview QA to practice and prepare.
Lottie is an open source animation file format that’s tiny, high quality, interactive, and can be manipulated at runtime. It has a the largest community of designers and developers. App like Duolingo and headspace are using lottie animation extensively.
In this article, you will learn how to add animated view using Lottie in SwiftUI. You can find the animations in Lottie files and it can be exported to the JSON format. Just drag the downloaded json in your app. Lottie animation is rendered in real time. Lottie is open source library for iOS, Android and more.
Step 1:
Follow the installation guideline available here. You can install it using cocoapods.
Step 2:
Add your Lottie animation json file next to Info.plist.
Step 3:
Create a UIViewRepresentable for Lottie animation view.
import SwiftUI
import Lottie

struct LottieAnimationView: UIViewRepresentable {
    func makeUIView(context: UIViewRepresentableContext<LottieAnimationView>) -> UIView {
        let view = UIView(frame: .zero)

        return view
    }

    func updateUIView(_ uiView: UIView, context: UIViewRepresentableContext<LottieView>) {}
}
Step 4:
We will pass animationName, loopMode and speed. Only animation name is mandatory so we will add a check if name is empty or not. By default speed is 1. Those are the available library provided loop mode –
/// Defines animation loop behavior
public enum LottieLoopMode {
  /// Animation is played once then stops.
  case playOnce
  /// Animation will loop from beginning to end until stopped.
  case loop
  /// Animation will play forward, then backwards and loop until stopped.
  case autoReverse
  /// Animation will loop from beginning to end up to defined amount of times.
  case `repeat`(Float)
  /// Animation will play forward, then backwards a defined amount of times.
  case repeatBackwards(Float)
}
struct LottieAnimationView: UIViewRepresentable {
    var animationName = ""
    var loopMode = LottieLoopMode.playOnce
    var animationSpeed = 1.0

    func makeUIView(context: UIViewRepresentableContext<LottieAnimationView>) -> UIView {
        let view = UIView(frame: .zero)

        if animationName.isEmpty {
            fatalError("animationName can not be empty")
        }
        return view
    }

    func updateUIView(_ uiView: UIViewType, context: Context) {}
}
Step 5:
Create an animated view inside the makeUIView function and play the animation. Constraints are added as well which will take the full width and height of the container. Final code will look like –
import SwiftUI
import Lottie

struct LottieAnimationView: UIViewRepresentable {
    var animationName = ""
    var loopMode = LottieLoopMode.playOnce
    var animationSpeed = 1.0

    func makeUIView(context: UIViewRepresentableContext<LottieAnimationView>) -> UIView {
        let view = UIView(frame: .zero)

        if animationName.isEmpty {
            fatalError("animationName can not be empty")
        }

        let animatedView = AnimationView()
        let animation = Animation.named(animationName)
        animatedView.animation = animation
        animatedView.contentMode = .scaleAspectFit
        animatedView.animationSpeed = animationSpeed
        animatedView.loopMode = loopMode
        animatedView.play()

        animatedView.translatesAutoresizingMaskIntoConstraints = false
        view.addSubview(animatedView)
        NSLayoutConstraint.activate([
            animatedView.heightAnchor.constraint(equalTo: view.heightAnchor),
            animatedView.widthAnchor.constraint(equalTo: view.widthAnchor)
        ])

        return view
    }

    func updateUIView(_ uiView: UIViewType, context: Context) {}
}
Step 6:
Use it on your SwiftUI view by calling with animationName.
LottieAnimationView(animationName: "award", loopMode: .loop)
                    .frame(width: 100, height: 100)
Planning to apply for an iOS job? Check out this article to uplift your resume! Also helpful – SwiftUI and Swift Interview preparation. Happy job hunting!
✍️ Written by Ishtiak Ahmed
👉 Follow me on X ● LinkedIn
Get Ready to Shine: Mastering the iOS Interview
Enjoying the articles? Get the inside scoop by subscribing to my newsletter.
Get access to exclusive iOS development tips, tricks, and insights when you subscribe to my newsletter. You'll also receive links to new articles, app development ideas, and an interview preparation mini book.
