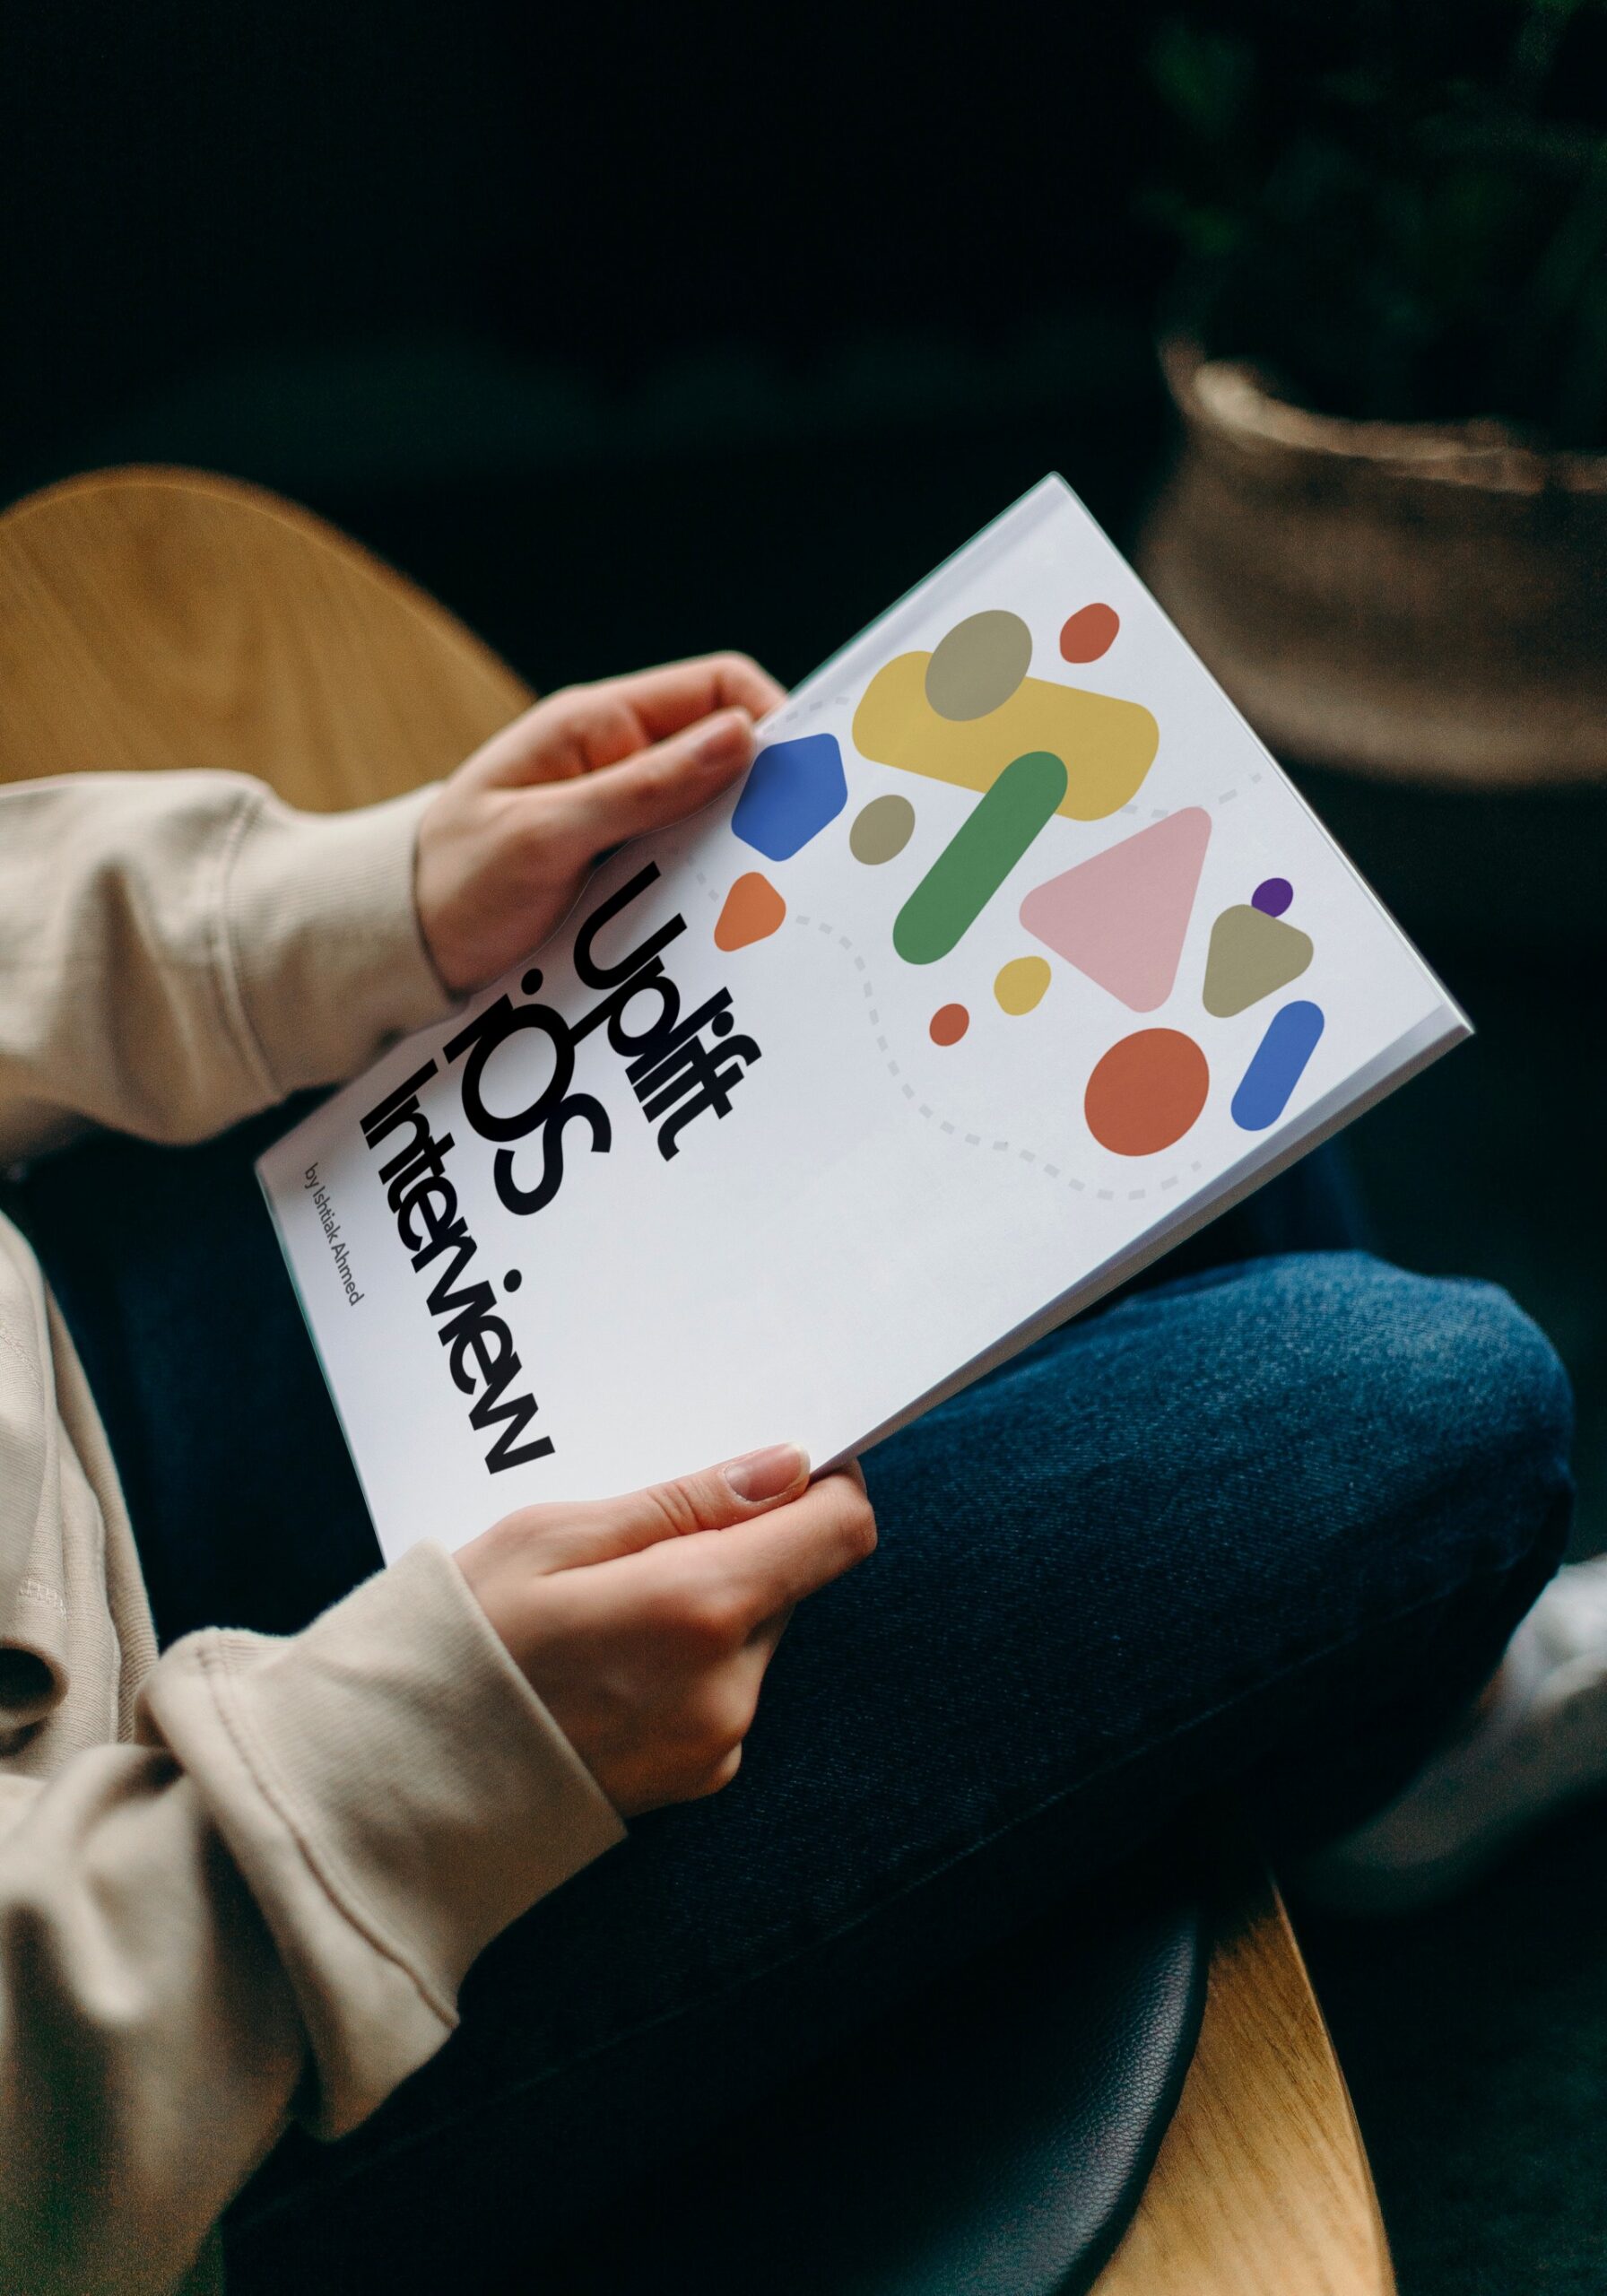
Uplift iOS Interview
The Guide is for YOU if
- You are preparing for an iOS interview and want to improve your skills and knowledge and looking to level up your interview game and land your dream job.
- You want to gain confidence and ease during iOS interviews by learning expert tips and curated strategies.
- You want access to a comprehensive list of iOS interview QA to practice and prepare.
The GeometryReader is a SwiftUI view that allows you to read the size and position of its parent view. It can be used to create layout that adapts to changes in the parent view’s size and position.
The GeometryReader is a very important concept in SwiftUI because it allows you to create responsive and adaptive layouts that adapt to different screen sizes and orientations. It provides a way to read the size and position of its parent view and use that information to create a layout that adapts to changes in the parent view’s size and position.
With the GeometryReader, you can create layouts that involve relative positioning and sizes, which is essential for creating user interfaces that work well on a wide range of devices and screen sizes.
Additionally, the GeometryReader can be used to create dynamic animations that depend on the size and position of the parent view. This allows you to create animations that are sensitive to the layout and size of the parent view, which can greatly enhance the user experience.
Furthermore, GeometryReader allows you to create layout that depend on the position of the parent view. This is useful in situations where you want to create a layout that is dependent on a certain position of the view and not just its size.
GeometryReader is a powerful tool in SwiftUI that enables developers to create responsive, adaptive, and dynamic layouts that adapt to different screen sizes and orientations, making it an essential concept for creating high-quality user interfaces.
Benefits of using GeometryReader:
- It allows you to create responsive layouts that adapt to different screen sizes and orientations.
- It can be used to create layouts that involve relative positioning and sizes.
- It can be used to create dynamic animations that depend on the size and position of the parent view.
GeometryReader { geometry in
   //content here
}
In this example, the geometry constant is a GeometryProxy object that provides information about the size and position of the parent view. You can use this object to create a layout that adapts to changes in the parent view’s size and position.
For example, you could use the size property of the geometry object to create a rectangle that always takes up half of the parent view’s width and height:
GeometryReader { geometry in
    Rectangle()
        .size(CGSize(width: geometry.size.width / 2, height: geometry.size.height / 2))
}
You can also use the frame(in:) method to get the frame of the view in a specific coordinate space, for example you can use it to get the position of the view in the global coordinate space:
GeometryReader { geometry in
    Text("Position: \(geometry.frame(in: .global).origin)")
}
Keep in mind that if you use GeometryReader it will take up all the available space, so you should use it with caution, specially when you have many of them nested or have a lot of elements inside of it.
Interactive animation using GeometryReader
struct InteractiveAnimationExample: View {
    @State private var offset: CGFloat = 0
    var body: some View {
        GeometryReader { geometry in
            VStack {
                Spacer()
                Circle()
                    .fill(Color.blue)
                    .frame(width: 100, height: 100)
                    .offset(x: self.offset)
                Spacer()
                HStack {
                    Button("Left") {
                        withAnimation {
                            self.offset = -geometry.size.width/2
                        }
                    }
                    Spacer()
                    Button("Right") {
                        withAnimation {
                            self.offset = geometry.size.width/2
                        }
                    }
                }
            }
        }
    }
}

struct ContentView: View {
    var body: some View {
        ZStack {
            InteractiveAnimationExample()
        }
        .ignoresSafeArea()
        .padding(100)
    }
}

In this example, we are using a GeometryReader to create an animation of a blue circle that can be moved to the left or right by tapping the corresponding buttons.
The GeometryReader provides the size of the parent view to the offset state variable. Then we use this information to offset the circle horizontally. We wrap the circle with a VStack that has two spacers, this way the circle will be in the center of the screen.
We use withAnimation to animate the change of the offset value when the buttons are tapped.
The GeometryReader allows us to use the size of the parent view to determine the offset of the circle, making the animation responsive and adaptive to different screen sizes.
By using the GeometryReader in this way, we can create interactive animations that are sensitive to the layout and size of the parent view, greatly enhancing the user experience.
✍️ Written by Ishtiak Ahmed
👉 Follow me on X ● LinkedIn
Get Ready to Shine: Mastering the iOS Interview
Enjoying the articles? Get the inside scoop by subscribing to my newsletter.
Get access to exclusive iOS development tips, tricks, and insights when you subscribe to my newsletter. You'll also receive links to new articles, app development ideas, and an interview preparation mini book.
